Spring Strawberry Shortcake

Being one of Japan’s favorite desserts, this cake can be found in just about every cake shop and even supermarkets. But of course nothing tastes as good as when it’s homemade… In my opinion at least… Plus when you use Fukuoka’s nationally revered Amao strawberries, it makes the dessert all the sweeter and authentic.
The creation of the Amao strawberry “brand” was a project developed in 1996 (that took around 8 years to perfect), where farmers sought to create a variety of strawberry that would soon make a big name for itself in all of Japan. Amao is actually an acronym for “Amai” (A - sweet), “Marui” (Ma - round), “Ooki” (O - big) and “Umai” (U - tasty). NOTE: in Japanese Amao is pronounced “Amaou”. This name was actually chosen in a poll given out to local Fukuoka citizens during the development period. In season from December through to May, these delectable plump red strawberries are perfect for just about any dessert! During this period, we have them stocked weekly in our house - being the favorite fruit of my youngest! 😊
The Japanese also sell tubes of condensed milk right next to the packs of strawberries, which they use to drizzle over them for a simple meal finale. It actually proves to be great combination, and a delicious alternative to just plain powdered sugar! 🍓
Now let’s head back to the shortcake and get this recipe started!

Génoise cake base:
125 g sugar
200 g eggs (around 4 eggs - room temperature)
1/8 tsp vanilla essence.
125 g flour
Toppings/filling:
450 ml Whipping cream
36 g caster sugar
1/8 tsp vanilla essence
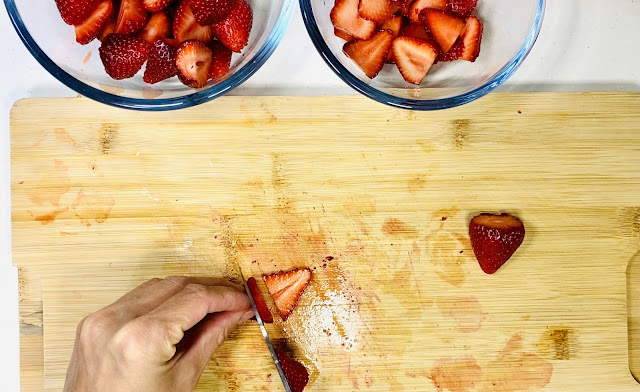
400 g Fresh strawberries

1) Prepare a Bain Marie (or double boiler) with water that comes up to around 5 cm in depth. Pre-heat oven to 170 degrees celsius. Prepare a 20 cm diameter cake pan (5 cm in height), coating the base and sides with butter and flour. Get 2 cooking racks ready. Place a medium sized metal or glass bowl in the refrigerator to chill (this will be used for the whipped cream later on). Prepare a piping bag, either with the very tip cut, or with a nozzle based on what design you prefer. I simply cut a hole at the tip of the bag.
2) Heat the Bain Marie pot over medium heat until the water is simmering. Once simmering, lower the heat.
3) Combine eggs, sugar and vanilla essence in a large mixing bowl, and place the bowl over the pot of hot water. Using a hand held mixer (or basic whisk, which will require a lot more muscle), beat the egg and sugar mixture for around 8 minutes until pale and frothy. When you lift the whisk, and gently move it back and forth, the batter should leave behind thin trails or “ribbons” of batter.

4) Remove the bowl from the pot, and place on a towel, continuing to beat for a further 2 minutes until the batter has slightly cooled.
5) Sift the flour over the batter, and using a large rubber spatula, gently fold the flour into the egg/sugar mixture, while turning the bowl counter-clockwise (or clockwise, if you’re left handed). Continue until the flour is just mixed in. Do not over mix, or the air within the beaten egg will escape, preventing the cake from rising properly.
6) Pour the batter into the prepared cake pan and gently raise and drop the cake pan 1-2 times to release any air bubbles that may be trapped within.
7) place cake pan on the middle rack of the oven and bake for 18-20 minutes, until a skewer poked in the middle, comes out clean.
8) Immediately run an icing spatula or knife along the sides of the cake pan, detaching the genoise from the pan. Place one cooling rack over the cake pan and flip the cake pan upside down, and tap gently until the cake is out of the pan. This must be done immediately - do not wait for the cake to cool down first.

10) Once cooled, place cake onto a round plate or cake plate, and using a serrated bread knife, slice the cake in half, length-wise, to obtain 2 round discs of even thickness. Keep one of the discs to the side on another plate.

11) Remove bowl from the refrigerator (see step 1) and pour in cold whipping cream, sugar and vanilla essence. Slice 4-5 strawberries vertically, depending on their size, into thin slices and reserve in a bowl.
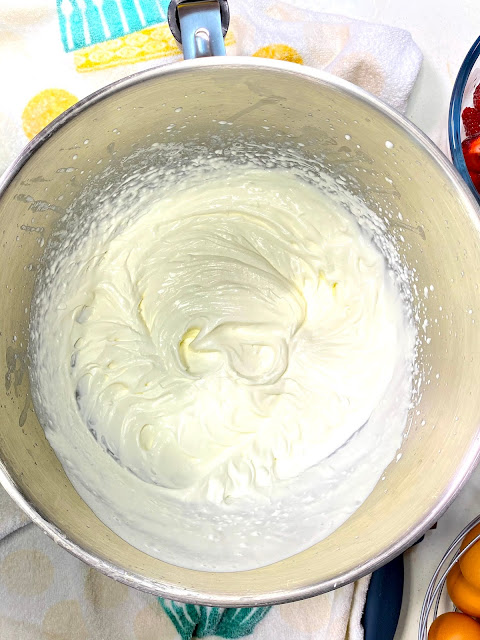
14) Resume beating the remaining cream, this time, until stiffer peaks form. Spoon the cream into the piping bag, squeezing the cream until it rests closest to the piping hole, and squeeze a little out into a bowl first to get rid of air bubbles (that will cause splatter and uneven piping).
15) Gently squeeze the piping bag in a spiral motion, creating a pretty dollop of cream, all around the top sides of the cake. Place the amount of dollops of cream depending on how many strawberries you have. See photo for ideas. Take full strawberries and gently place them on top of the dollops. Decorating ideas are endless! You can also sift some powdered sugar over the strawberries for a wintery effect.


I hope you enjoy this cake as much as my son does!!
Itadakimasu! En Guete! Guten Appetit! Bon Appetit! Buon Appetito!
Gastronomically yours,
Pia 💖

Making it now! :-)
ReplyDelete